Walnut-and-cheese-stuffed pork chops

Here’s my idea of a great October dessert: a piece of hard cheese, a glass with a little red wine left in it and a bowl of walnuts. It’s the kind of finish that encourages you to linger at the table. A crumble of salty cheese inevitably leads to another sip of wine. You crack a nut and then patiently pick through the shell to dig out every bit of sweet meat that might still be hidden within. You talk a little more. It’s autumn and there’s no need to hurry.
Walnuts are one of California’s quintessential seasonal pleasures. And it’s one that we share readily. California supplies two-thirds of the world’s trade in walnuts. Only China’s growers produce more than we do, but they keep theirs to themselves.
Walnuts and fall go together perfectly, and not just because this is when they are harvested. Just as summer seems unthinkable without the exuberant juiciness of peaches, plums and nectarines, this season fits the quieter pleasures of walnuts.
Perhaps less poetically, walnuts are perfect for autumn in Southern California because they both have split personalities. Just as a typical October day can begin with cold and fog and wind up sunny and hot, the walnut has two completely different faces.
Taste a raw walnut and what you’ll find is something that, despite a good, pleasing crunch, is complex and sweet but subtly so -- nearly to the point of blandness. The main note that sticks out is a hint of something from the peel that leaves your mouth a little puckered and bitter.
Toast that nut, though, and you’ll taste something completely different. What it loses in complexity it gains in strength. The flavor blossoms, rich and roasted. The aroma is deeply fragrant and completely delicious.
For this, as for so many other culinary transformations, we have to thank our old friend the Maillard reaction. This is the scientific term for what happens when amino acids and sugars are heated together. Cooks know it better as the browning that occurs on the outside of a roast beef, on the crust of a loaf of bread. Or in toasted nuts.
It’s simple to do. If you have a lot of nuts, it’s easiest to use the oven. Put the shelled nuts on a jellyroll pan without any oil and bake at 350 degrees. Stir every couple of minutes and take a good whiff when you do: The surest indicator of when the nuts are done is that they become perfumed and aromatic. This will take 5 to 10 minutes.
For smaller quantities, I prefer to use the stove top. Put the nuts in a dry skillet and toast them over medium-high heat until the smell changes, about 3 to 5 minutes. As with the oven method, frequent stirring is required -- once nuts are scorched they are ruined.
Though toasted and raw walnuts are definitely different, you can’t really say that one is better than the other. They both have their uses.
There’s no arguing that the pleasures of toasted nuts are certainly easier to appreciate. Add walnuts to a cookie recipe and you’ll see that immediately. You don’t even need to roast them beforehand -- cookies are thin enough to allow nuts to toast during the baking.
Along the same lines, add a quarter cup of chopped walnuts to the food processor the next time you’re making a pie crust or the topping for a fruit crisp. You don’t need to alter anything else in the recipe and, again, the nuts will toast while the dish cooks.
Sprinkle them all over
Though we tend to think of them as dessert ingredients, walnuts have many savory possibilities as well. They’re perfect for fall salads, especially when paired with ingredients that are slightly sweet, such as pears or fennel, or a bit bitter, such as Belgian endive as we’ve done here. With salads, you will want to toast the nuts first.
In fact, this salad gets a double dose of toasted walnut -- the dressing contains walnut oil. Be sure that you use an oil that is labeled “toasted” and is dark brown in color. There are pale gold oils made from raw nuts, but they are flavorless. Toasted walnut oil is extremely flavorful and may need to be cut with another oil to keep from overpowering a salad. Taste before you begin to add it.
It is also fragile and goes rancid pretty quickly. Buy it in small amounts and keep it in the refrigerator (it will stay liquid when chilled).
Raw walnuts play a subtler role, providing a tinge of balancing bitterness and a slight richness that can add substance to a dish without making it seem flabby.
In the tapenade, raw walnuts help the flavors maintain their precise balance. When you taste the mixture, you’ll be hard-pressed to say that it contains walnuts. But without them, the flavor would be either too buttery or too sharp with olive.
In some dishes it doesn’t matter whether the walnuts are raw or toasted. Make the stuffed pork chop recipe with raw walnuts and they’ll add only a slight crunch to the filling and a subtle bitterness that undercuts the richness of the blue cheese. Use toasted nuts and the walnut flavor moves to the front a bit more. You choose.
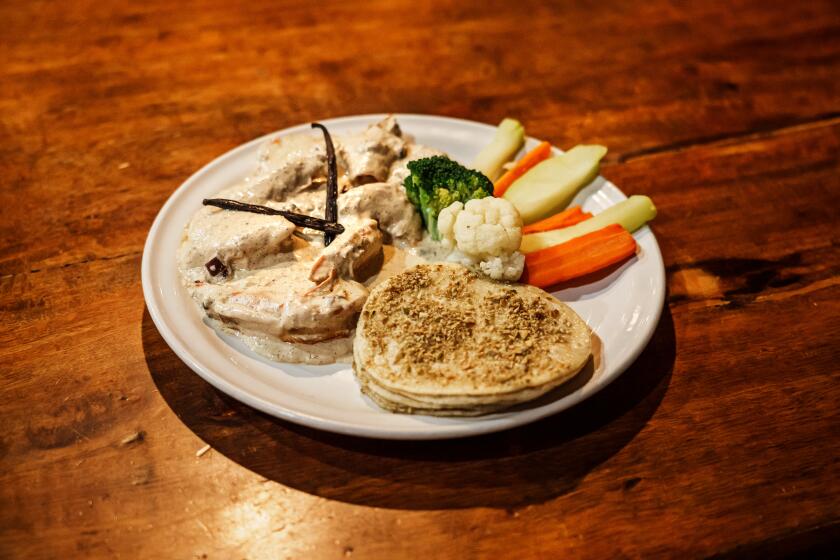
Whichever way you go, it’s a delicious dish -- in a retro-French sort of way. Old-fashioned, sure, but how in the world can anything made with shallots, Cognac and creme fraiche be bad? And if the beige-on-beige color scheme bothers you, serve it with a green salad.
It’s a buyer’s market
This is the perfect time to experiment. For the second time in the last three years, the California harvest will be a record, about 315,000 tons. The early varieties are already picked, and the Hartleys and Chandlers that make up the bulk of the state’s crop are just beginning.
But specific names don’t matter that much when it comes to walnuts -- it takes a real nut connoisseur to tell the difference between the varieties (the black walnut, a strong-flavored American native popular in the East and Midwest, belongs to a different species).
Because walnuts tend to go rancid fairly quickly, people who do a lot of baking like to buy up a lot right now when they’ve just been harvested and freeze them to last the winter. Many farmers market vendors are now selling shelled walnuts, a great convenience.
Also at farmers markets, but only for the next couple of weeks, you’ll find fresh walnuts -- most nuts have been dried to extend their shelf life, but these have not and their texture is distinctly creamy. These are sold both in their hard shells and occasionally even in the green fruit-like pod that surrounds the walnut. This wrapping is used to make walnut liqueur.
But be sure to pick up a couple of bags of plain old nuts in their shells as well. They’ll last all winter as long as they’re not cracked, and with any kind of luck there will be a lot of meals worth lingering over before spring comes.
Pat the pork chops dry and sprinkle both sides with salt to taste. Slash the fat along the edge of each chop through to the meat in three places. This will help keep it from curling while it is cooking. Cut a pocket in each pork chop nearly to the bone and almost the length of the chop, leaving only about one-fourth to one-half inch of meat uncut at either end.
Toast the walnuts in a small dry skillet over medium heat until they begin to brown and turn fragrant, 3 to 5 minutes. Keep stirring them to keep them from scorching. Set aside to cool.
Combine the toasted walnuts, blue cheese and shallots in a small bowl, and stir with a fork to mix thoroughly. Spoon 1 to 1 1/2 tablespoons of filling into the pocket of each pork chop. Reserve the remaining filling. Press the sides of the pocket together and seal them closed by threading a toothpick through both sides.
Melt the butter in a large skillet over medium-low heat. When the foam has subsided, add the pork chops and cook until lightly browned on one side, about 5 minutes. Carefully turn and continue cooking on the other side until it is similarly browned, another 5 minutes. Pay attention to the heat: If the butter begins to turn too brown, reduce the flame to keep it from scorching.
When the chops are browned, remove them to a plate and cover them with another plate to keep them warm. Pour off the fat from the skillet and place the skillet over high heat. When all of the meaty bits that have stuck to the bottom of the pan turn brown (about 2 minutes), add the Cognac and cook until it reduces to less than one-fourth cup of light brown liquid; there should be almost no harsh smell of alcohol remaining. This will take only a couple of minutes.
Reduce the heat to medium-low and whisk in the creme fraiche. When the creme fraiche begins to bubble around the edges, whisk in the reserved filling and the thyme. When the liquid begins to bubble again, return the pork chops to the pan and reduce the heat to low.
Cook, covered, about 3 to 4 minutes on each side. When the pork chops are done, a paring knife should penetrate the meat fairly easily. Keep an eye on the liquid and if it begins to reduce too much, lower the heat again. Before serving, taste the sauce and add a little black pepper and a dash of salt if necessary (it probably won’t be, but some blue cheeses are saltier than others). Remove the chops to a platter, remove the toothpicks and ladle the sauce over the top. Serve immediately with a green salad on the plate.
Get our Cooking newsletter.
Your roundup of inspiring recipes and kitchen tricks.
You may occasionally receive promotional content from the Los Angeles Times.


